
Bonsai does not need a greenhouse – ideal for balcony gardens
In this blog Chris Xepapas explains the process involved in developing a bonsai tree from seed. He has chosen a Japanese maple as an example – one of the most popular trees for bonsai.
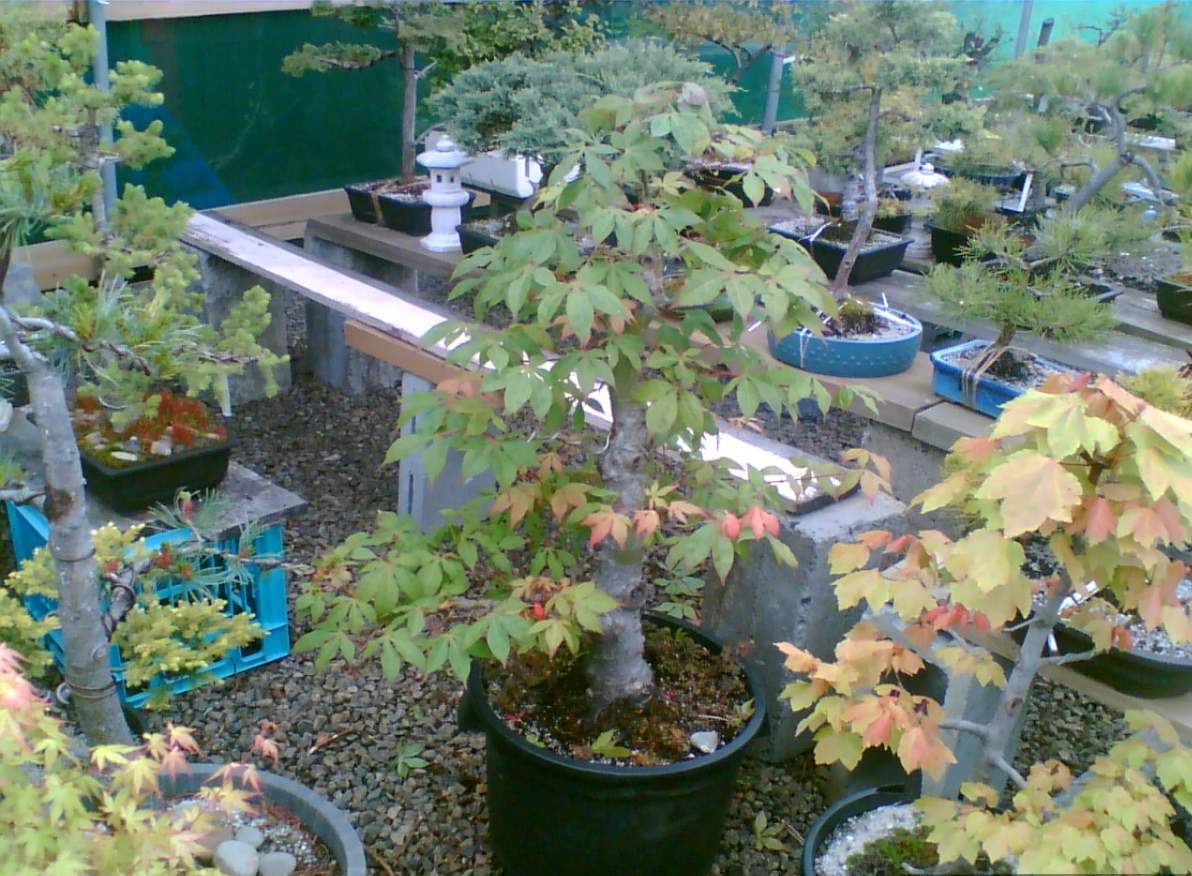
Japanese Maple – before final potting
Propagation – when planting the seed keep in mind that the rate of the seedlings growth will depend on the size of the container. Remember not to plant the seed too deep as it needs light as well as water to germinate. A good hint is to plant lots of seeds to ensure success; you should get some trees sprouting if you plant several hundred! Keep that in mind that some seeds take longer to germinate than others.
Stage one- when your seedling is around two years old, it is time to prepare it for a life as a bonsai. In the dormant season (towards the end of winter), you must re-pot the tree into a larger growing container. At this stage the tap root has to be cut to allow the side roots to develop. When replanting the tree, you can decide to plant the tree on a angle to start developing any particular style you might have in mind. This eliminates the need to wire the trunk in the future.
Stage two- as the tree grows over the next couple of years, you will need to selectively prune the tree. We need branches coming from certain points of the trunk to fall within bonsai aesthetic designs. As the maple grows you will be presented with junctions of growth which have three shoots in one. The strongest shoot, which is usually the middle one, will have to be removed. It is advised that only two possibilities come from one point. This makes sure that design looks natural and you don’t get unwanted bulges of growth in the upper area.
The first (lowest) branch can be either extend to the left or right. The second branch should be a little further up and at the back. The third should extend in the opposite direction to the first branch. Next another back branch, and we repeat the process until we reach the desired height for the style. The tree apex also needs to lean slightly forward. Remember, this process will take some years. Every three to four years, the tree needs to be re-potted and the nebari (surface root structure) can be developed .
Stage three- the tree should now be starting to look like a little bonsai. If you are happy with the trees trunk thickness and height, you can pot the tree into a bonsai pot. Be warned that once the tree goes into a bonsai pot, it will slow right down in growth so if you want that trunk thicker, leave it in its larger container.
Stage four- When settled into the bonsai pot you can start to refine the branch structures. Sub branches should be developed off the main branches, on a left/right pattern with spaces between them, never opposite to one another. Then more sub-branches off the sub-branches. This will also take several growing seasons to achieve.
Stage five (final) – the bonsai should be looking great now, but how can we improve it even more?
You might decide that the tree needs changing to another pot to enhance it further.
Another way to improve your tree is by leaf reduction. This is done by defoliating 50% of the trees foliage during late spring. The new growth that comes out will be smaller – but you should only do this if your tree is healthy.
Lastly let light penetrate the trees inner branches to allow back budding. This is done by:
1 – Let the first flush of growth in spring grow out to four + pairs of leaf growth, then prune the growth back to the first pair of leaves.
2 – Two weeks later clip off one of the two leaves left. This will lighten up the appearance of the tree and you should get back budding.
Remember that deciduous trees are best displayed in winter without foliage to show off the branch structure.
Chris Xepapas
Heritage Bonsai Tasmania